Ultimate Guideline to Shoot Footwear will help us to make professional product shoe images. This best guide to take shoe photo is perfect for beginners and advanced photographers alike and will provide you with the 5 best shoe photography ideas to make your photos stand out.
Are you struggling to take high-quality photos of shoes for your e-commerce business? Look no further than the Ultimate Guideline to Shoot Footwear.
You’ll also learn 7 tips for taking good shoe photographs, including how to find photoshoot ideas and how to capture the perfect shot of heels and slippers.
With the help of the Ultimate Guideline to Shoot Footwear, you can significantly improve the quality of your shoe photography, ensuring that your products are presented flawlessly and stand out from the rest. Better shoe photography can lead to increased e-commerce efficiency and a more professional image in the footwear industry.
Don’t settle for mediocre shoe photography any longer. Follow the Ultimate Guideline to Shoot Footwear and take your shoe photography to the next level, bringing your e-commerce business the results you desire.
Effective and important tips for getting the best shoe images still help make us more professional. We can pay heed to the Ultimate Guideline to Shoot Footwear following tips If we want to get stylish and perfect shoe images.
Effective and important tips for getting the best shoe images still help make us more professional. We can pay heed to the Ultimate Guideline to Shoot Footwear following tips If we want to get stylish and perfect shoe images.

Planning is an essential part of taking action to complete a task smoothly and quickly. Successful planning will help us become more professional and become faster when we complete a task.
The research will make creative use of the necessary elements while taking a professional photo shoot.
A complete and successful research project will help us gather information about the essential and necessary elements of photography: tools, gadgets, lighting, stands, camera background, settings, image editing, etc.
After taking the test, we can sit down in a chair with a computer and prepare the answer to this matter with following the ultimate guideline to shoot footwear. How many pairs of shoes will we photograph, what colors will they be, and how many angles will we include in order to accurately represent the goods?
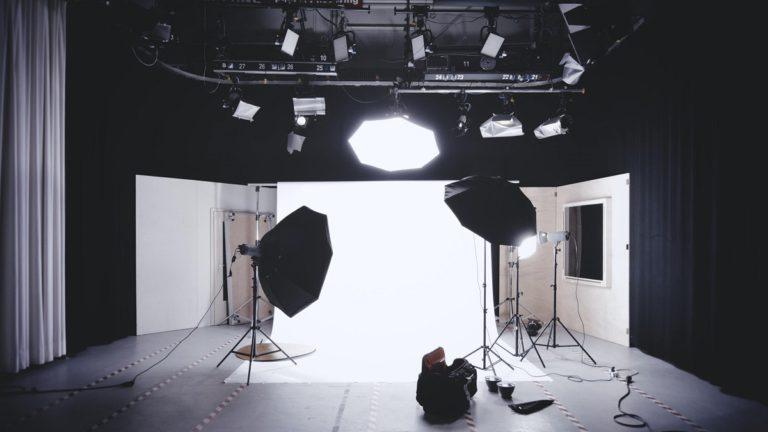
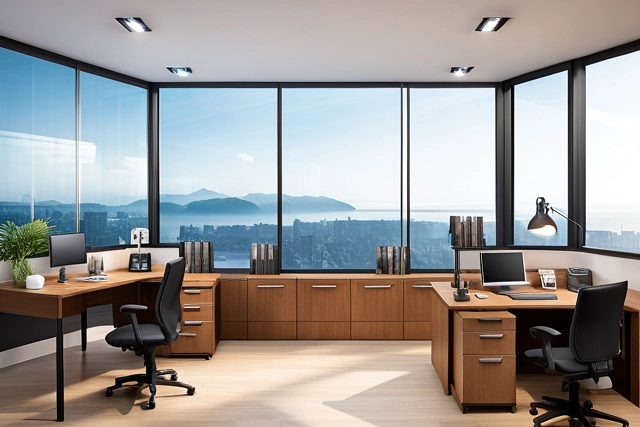
A well-decorated location is very important to take an efficient type of shoe shot; it brings the right and effective result as a professional photographer.
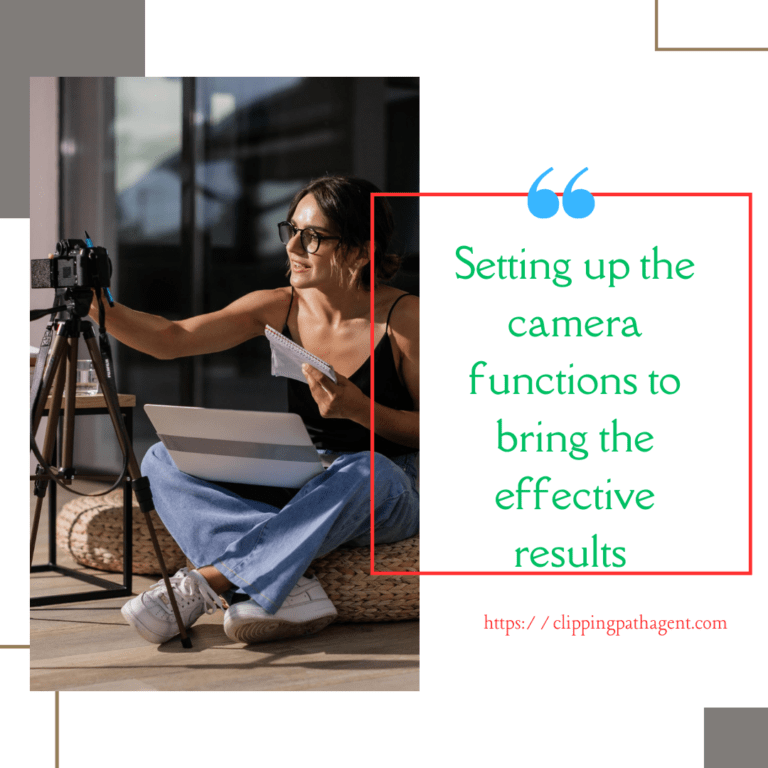
The camera function is the most crucial part of taking professional shots of shoes with natural looks and effective results. If we are unable to set up the camera functions as a result, Ultimate Guideline to Shoot Footwear will help us to bring the effective setting up the camera functions. we won’t get the well-effective performance of a shoe shoot. To know how to guide setting up camera functions.
Ensure the white background color is one we can choose because it is a crucial part if we want incredible shoe images. We would like to take photographs of a pair of shoes, which will make great images, so, we must ensure a white background because a colored background will distort the shoe images.
When we take photos, we must concentrate on the shoes not laying flat. Flat shoes will create an unappealing and lifeless presentation, causing customers to become hesitant.
It is a great representation of the shoes someone is wearing. After wearing them, the customer will feel the real thing, and as a result, the potential customer will be curious to purchase the shoes.

Proper lighting is one of the most important things to consider when taking shoe photography, and it gives us ideas or tips if we want to take the most stylish shoe prints possible. When lighting is done right, a product can be illuminated and engaging.
Whereas, when you place the light in the wrong place, you can harm the product and make it monstrous.
When shooting shoes, you should use natural light rather than dim lighting since the murk of dim lighting may make it delicate to display the footwear directly.
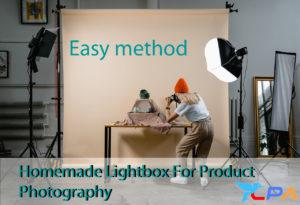
Make sure the sun does not shine directly on your set, as this will have a negative impact on your print. Use a lightbox for photography, but you can also get an analogous effect by placing three lights in that order: one on top, one on the left wing, and one on the right.
It will help to consider the customer’s thinking, whether our goal is to represent ideas in a product catalog or make online purchases. Customers prefer to view items from various perspectives before making a purchase.
when we see shoe photos from one side. Many questions might arise in our mind about the shoe’s left side and how it looks. Every customer has a different set of questions, such as what flat images are and how they appear in terms of color and smoothness.
To answer these types of questions, we can capture shots from various angles; as a result, from the customer’s perspective, the answers to the aforementioned questions will be provided prior to asking.
It will help to consider the customer’s thinking, whether our goal is to represent ideas in a product catalog or make online purchases. Customers prefer to view items from various perspectives before making a purchase.

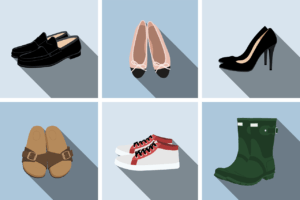
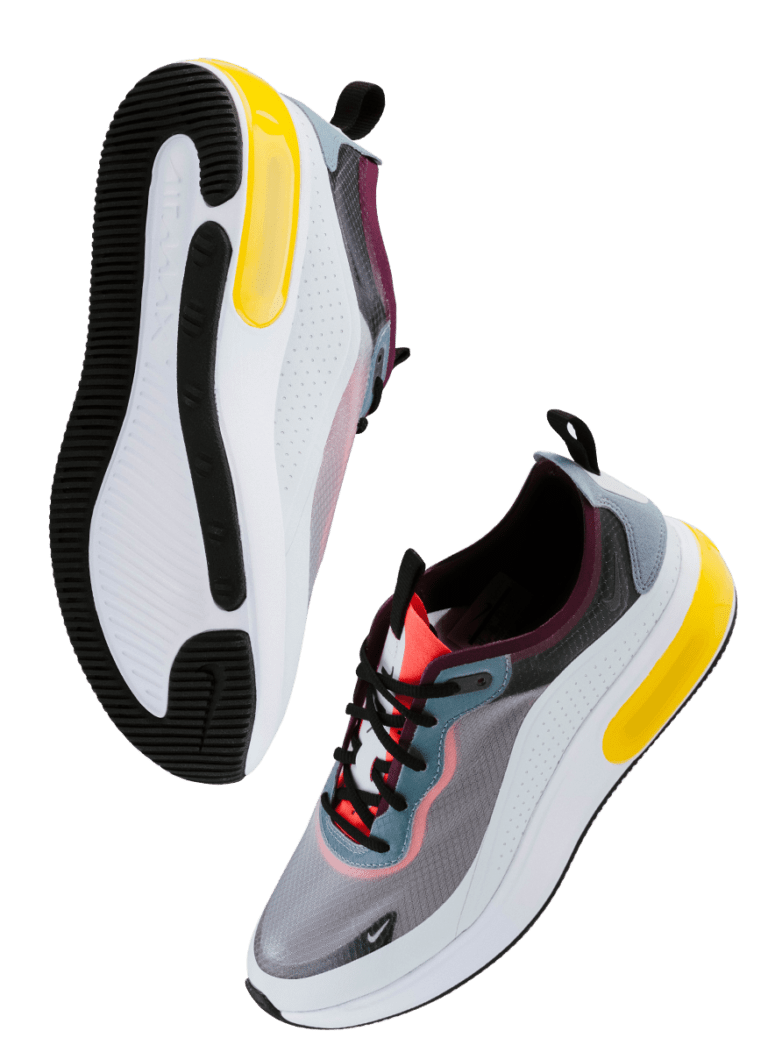
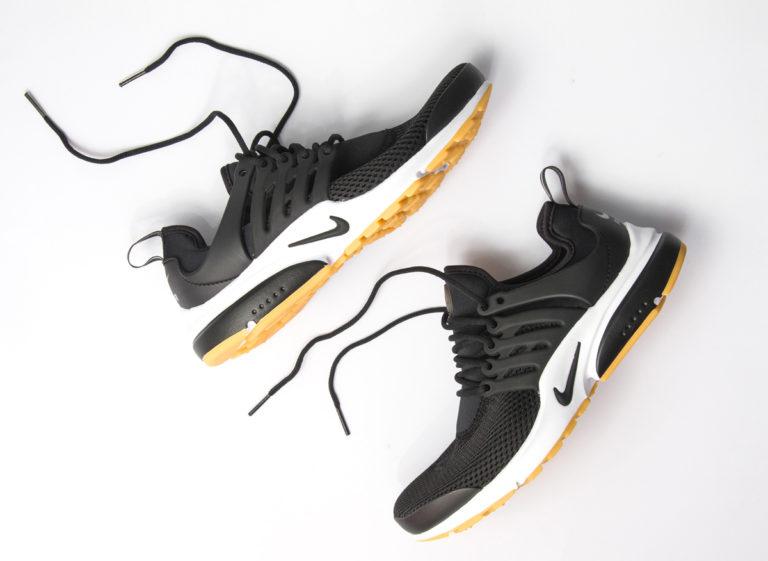
Product shoe photography:
Product shoe photography means we only capture shoe shots. This type of photography focuses on showcasing the shoes in a simple and straightforward manner. The shoes are typically photographed against a plain background, with emphasis on the design, texture, and details of the shoes
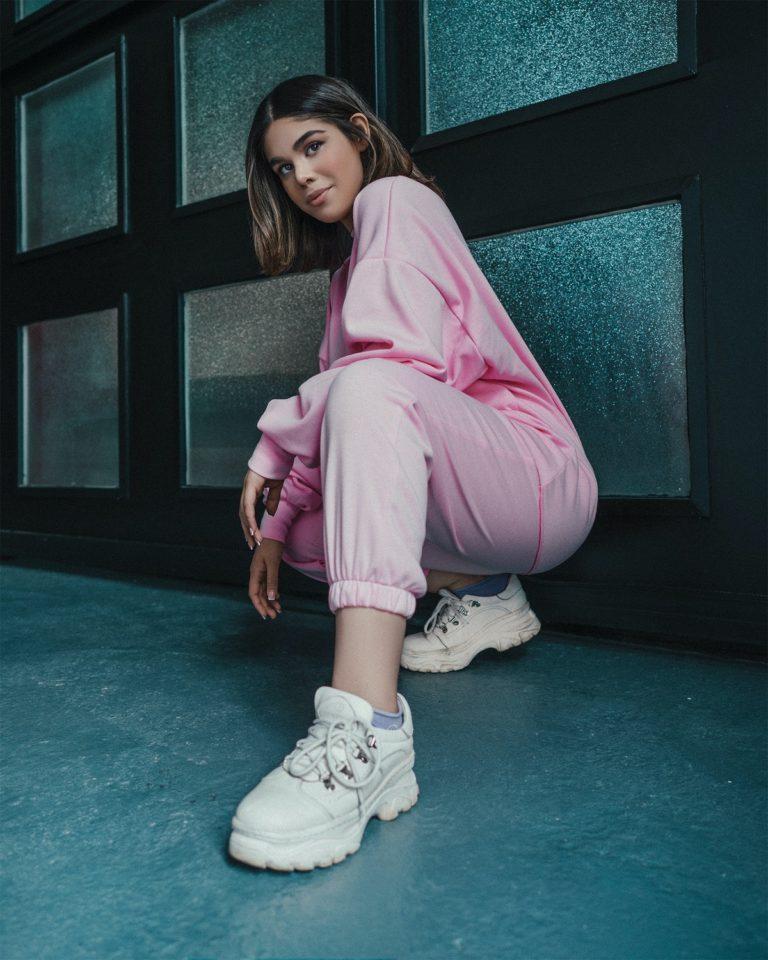
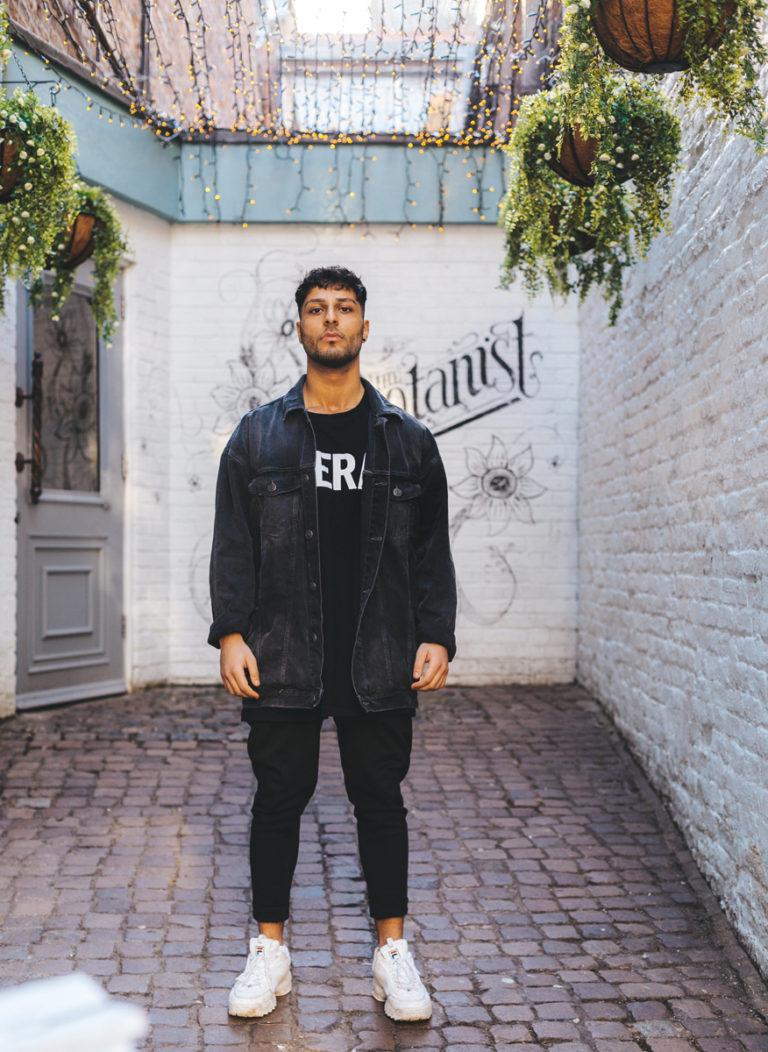
Lifestyle shoe photography:
In this type of photography, the shoes are showcased in a specific lifestyle setting, such as a cityscape or nature scene. The goal is to create a visual story that resonates with potential customers, helping them imagine how the shoes might fit into their own lives.
Editorial shoe photography:
Editorial shoe photography is often used in fashion magazines or blogs. It is more artistic in nature, with an emphasis on creating visually stunning images that highlight the shoes as well as the overall fashion theme.
Social media shoe photography:
With the rise of social media, many brands use shoe photography to promote their products on Instagram, Pinterest, and other platforms. These photos are often more creative and eye-catching, with the aim of standing out in a crowded social media feed.
Studio setup shoe photography:
This type of shoe photography is typically used for more high-end products, such as luxury shoes. The shoes are photographed in a studio setting with professional lighting and equipment, to create high-quality images that showcase the shoes’ details and features.
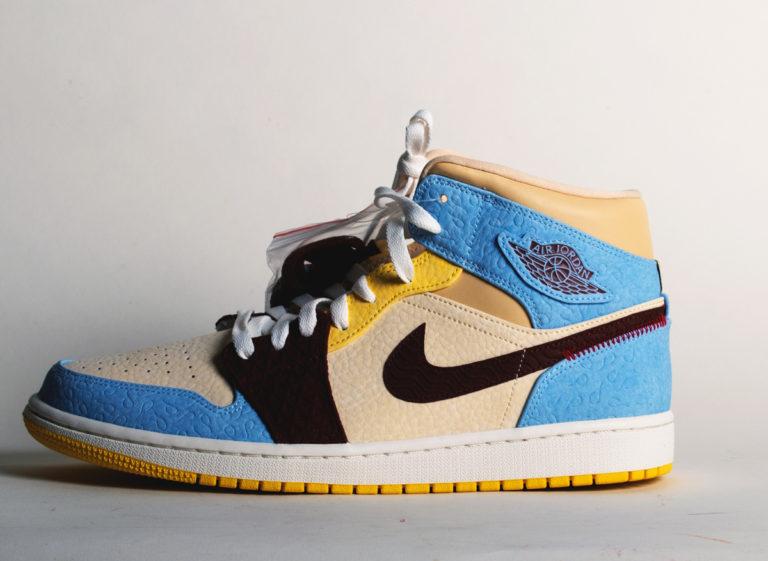
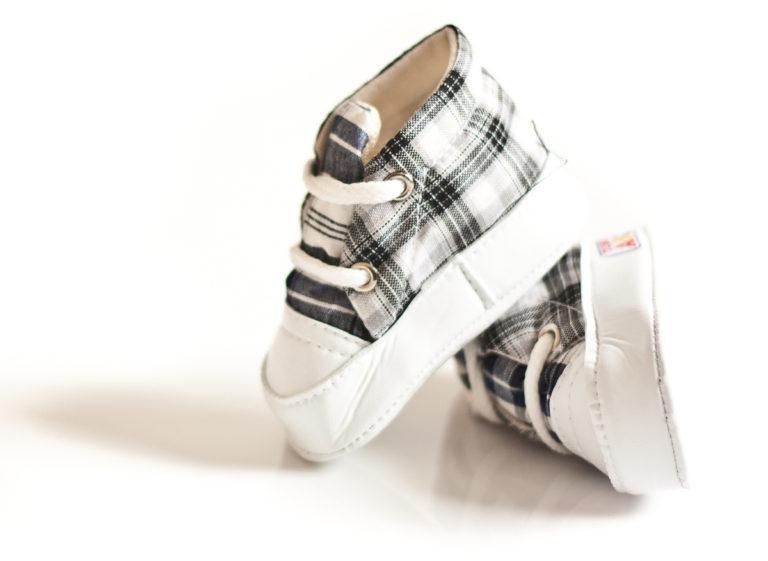
Macro Photography for shoes:
Take close-up shots of the shoe to capture its unique features and textures. This can be especially effective for shoes with intricate designs or details, as it allows you to showcase them in a more detailed manner.
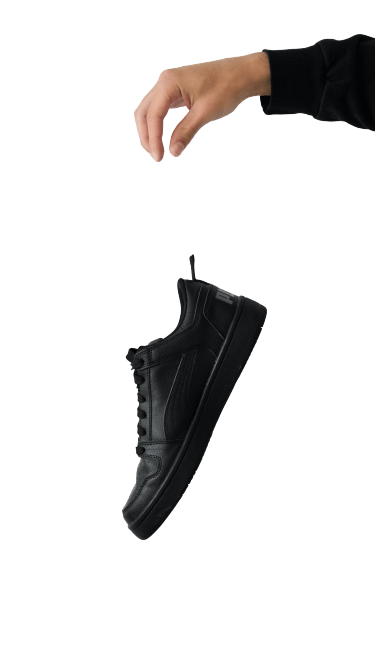
Black and White Photography for shoes:
Try using black and white photography to give your shoe images a classic and timeless look. This can be especially effective for high-end or luxury shoes, as it can create an elegant and sophisticated mood.
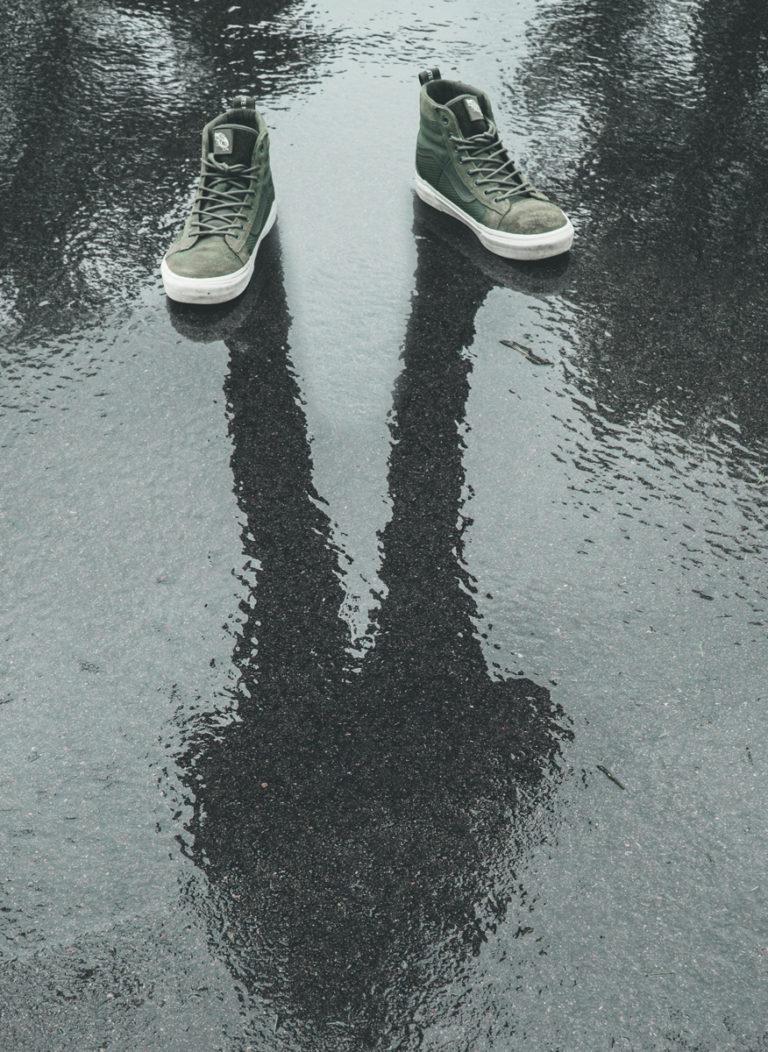
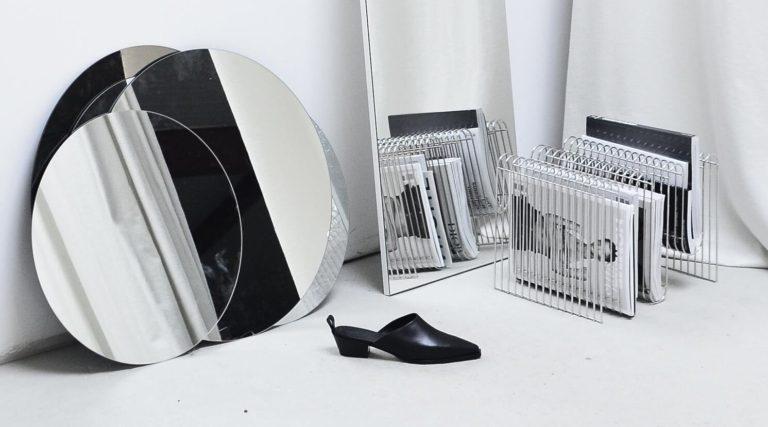
Reflection Photography:
Play around with reflections to create interesting and dynamic shoe images. This can involve photographing the shoes on reflective surfaces such as mirrors or water or creating reflections through lighting techniques.
Shadow-type Photography for shoes:
Experiment with lighting to create interesting and dramatic shadows in your shoe images. This can create a sense of depth and dimension, and add a sense of mystery or intrigue to the photos.
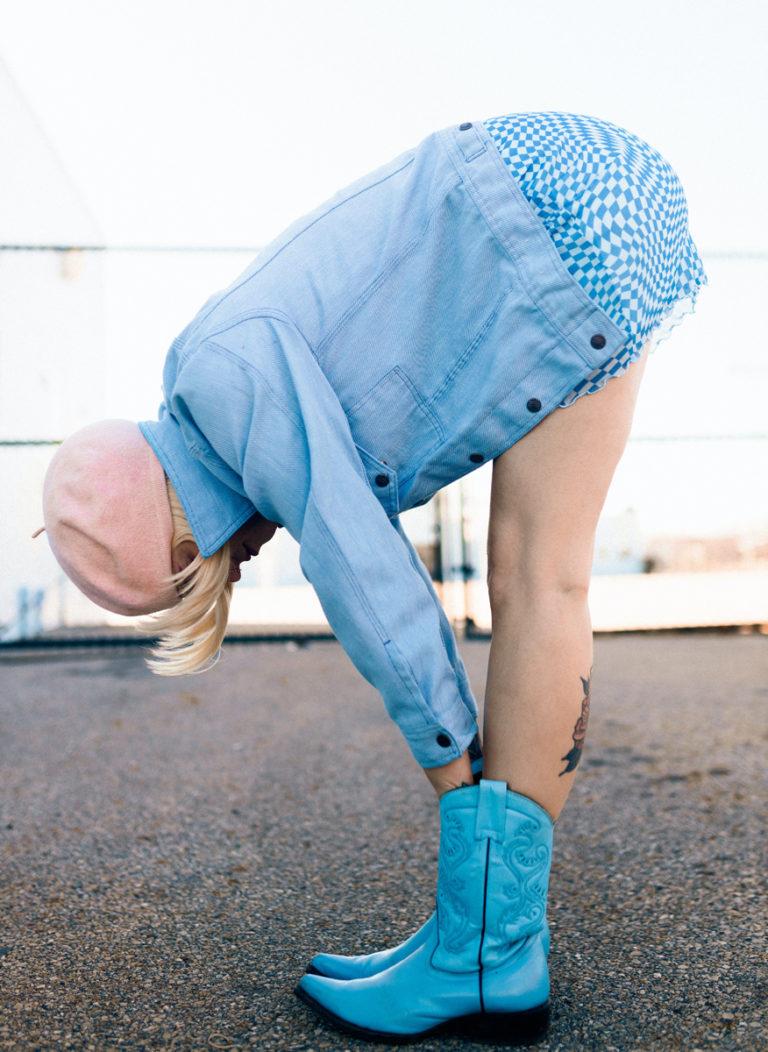
Outdoor Photography for shoes:
Take your shoes outside and photograph them in natural settings such as fields, forests, or beaches. This can create a more relaxed and natural mood, and allow you to showcase the shoes in a unique and interesting way.
Use a neutral background:
Use a plain, neutral-colored background that doesn’t distract from the shoes. A white or light grey background is a good choice.
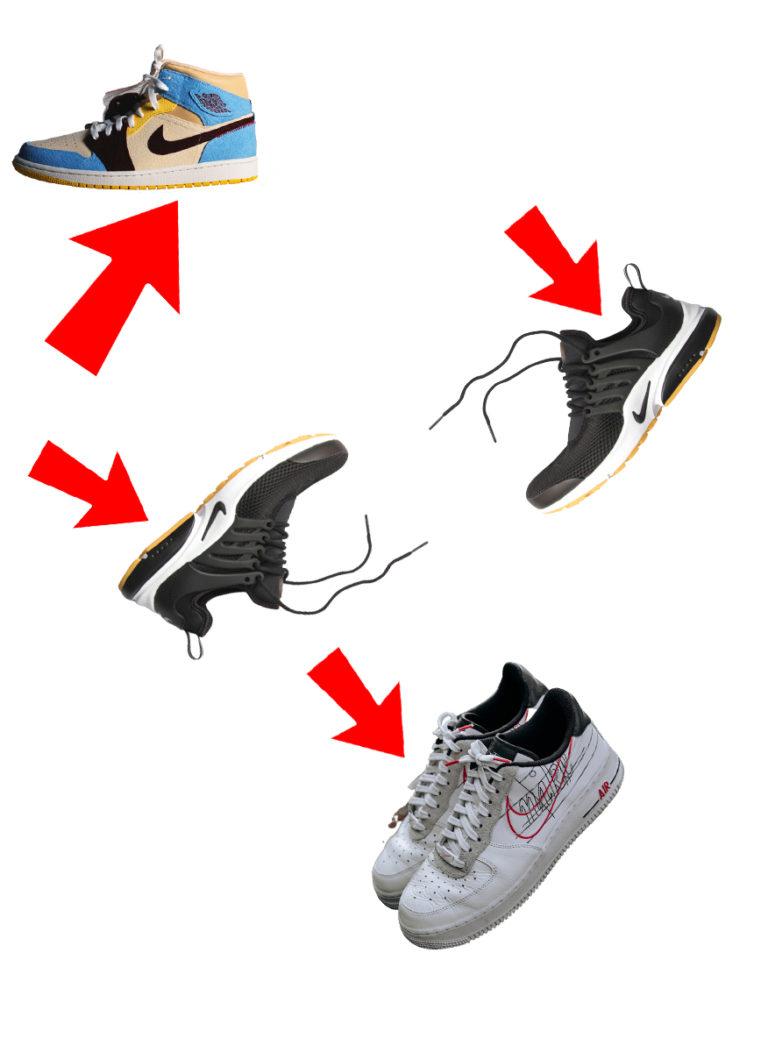
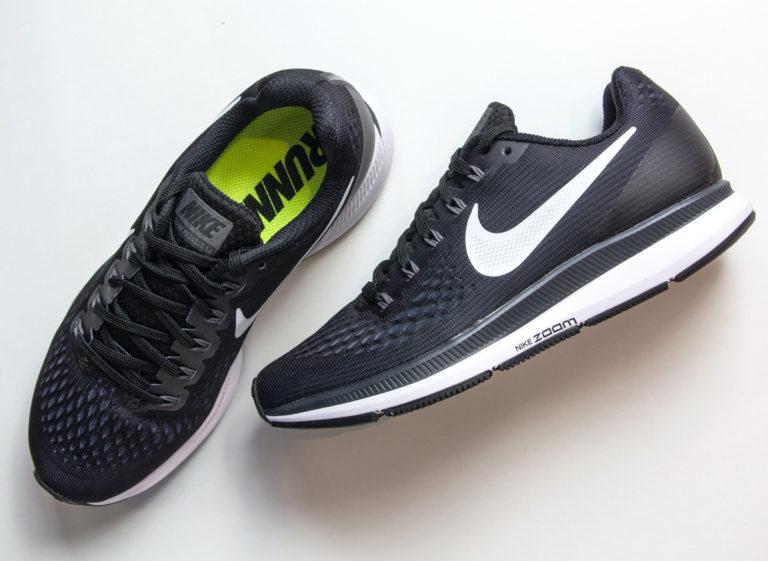
Shoot from different angles:
Take pictures of the shoes from different angles, including the front, side, and back. This will allow customers to see the shoes from all sides and get a better sense of their shape and design.
Use good lighting:
Make sure your photos are well-lit, with even lighting that doesn’t create harsh shadows or highlights. Natural light is often the best option, but you can also use artificial lighting if needed.
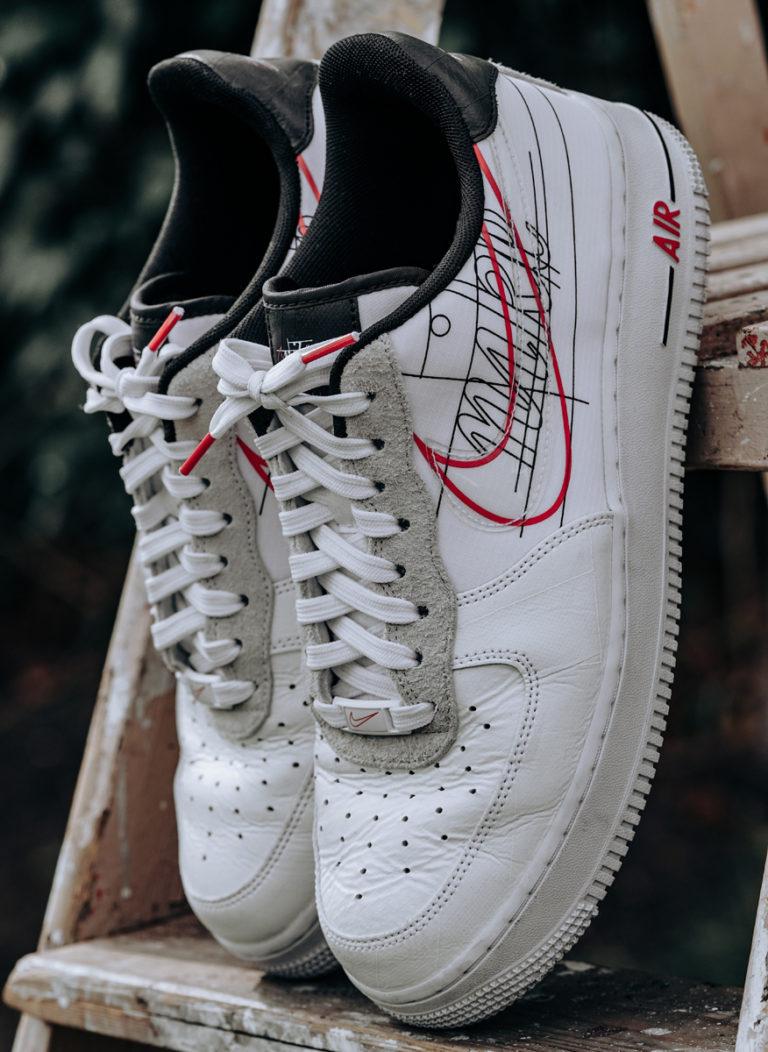
Show the details:
Take close-up photos of any interesting or unique details of the shoes, such as stitching, hardware, or texture. This can help customers appreciate the quality and craftsmanship of the shoes.
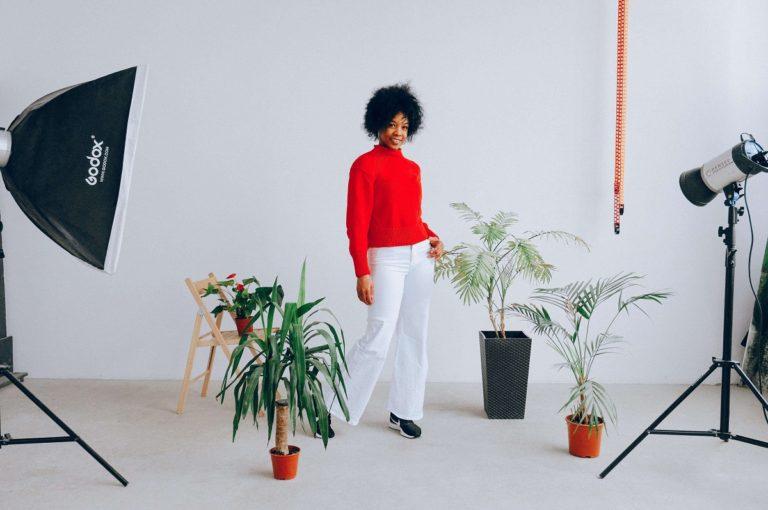
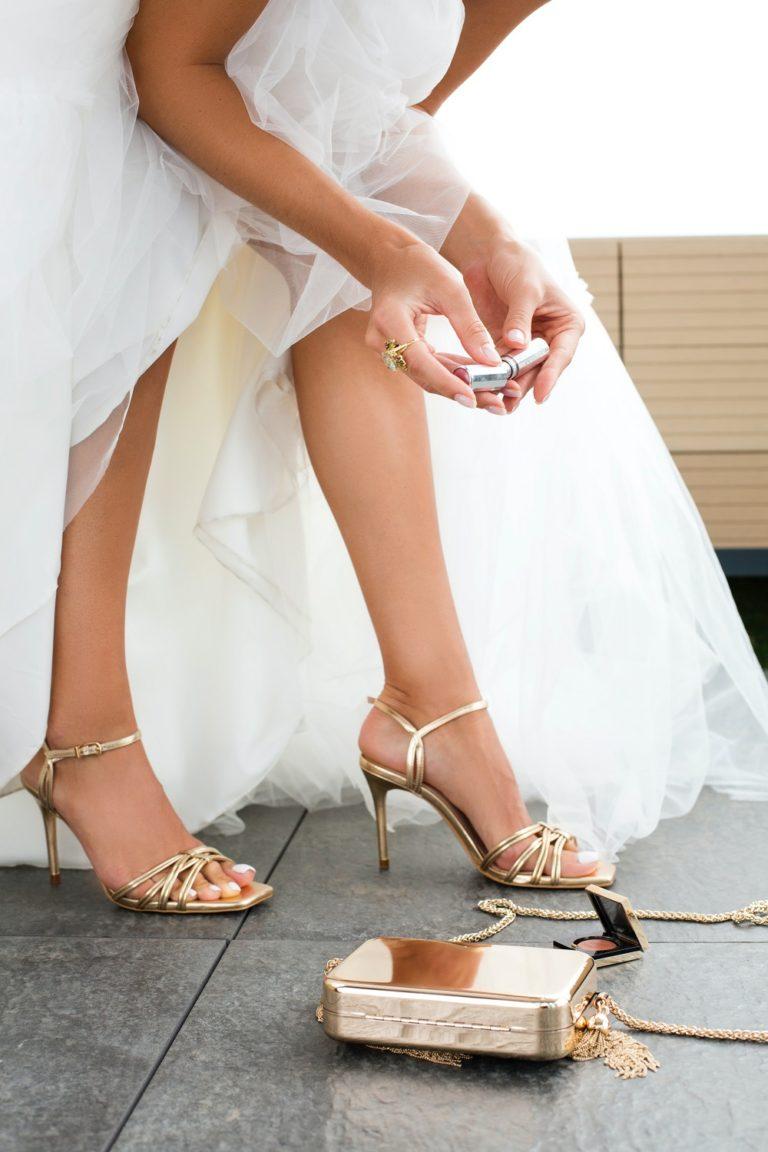
Use a model:
Consider using a model to showcase the shoes, especially if they are meant to be worn on the feet. This can help customers visualize how the shoes will look and fit in real life.

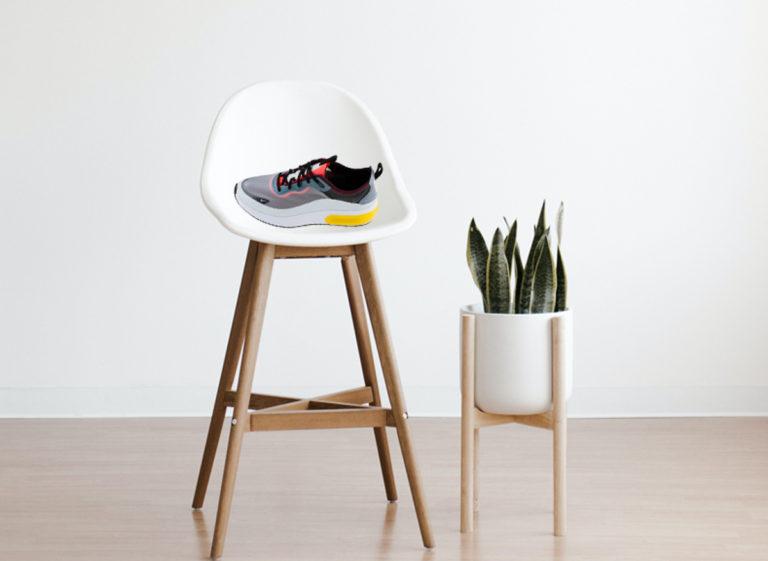
Provide context:
If possible, show the shoes in a real-life context, such as on a shelf or in a closet. This can help customers understand the size and scale of the shoes, and imagine how they might fit into their own lives.
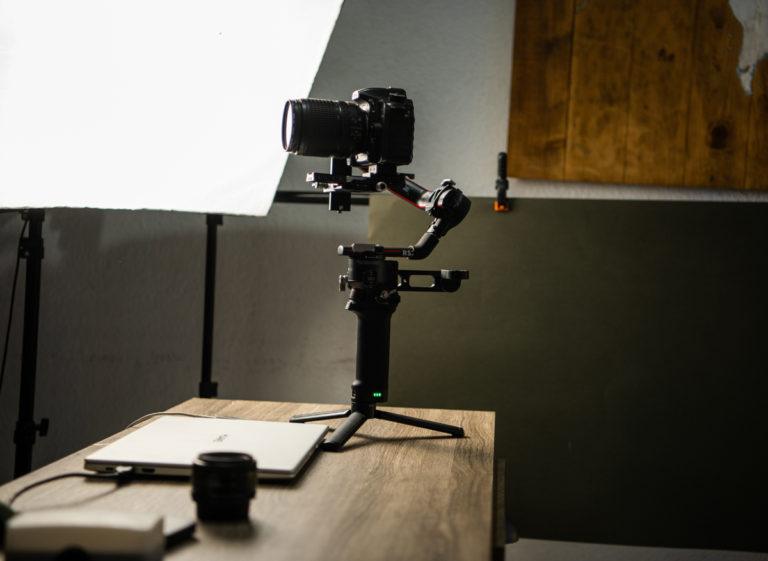
Tripod:
A tripod is a must-have for stabilizing your camera and ensuring sharp, clear photos.
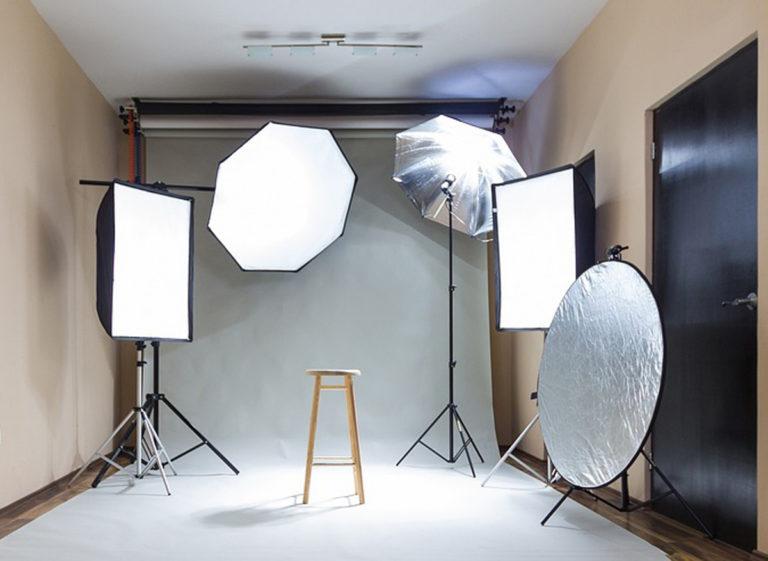
Lighting kit:
Good lighting is essential for creating high-quality shoe photos. A lighting kit can help you achieve even, flattering light that showcases the shoes in the best possible way.
Reflectors:
Reflectors can help bounce light back onto the shoes and eliminate shadows, creating a more polished and professional look.
Macro lens:
A macro lens allows you to take close-up photos of small details on the shoes, such as stitching or texture.
Remote shutter release:
A remote shutter release can eliminate camera shake and ensure that your photos are sharp and in focus.
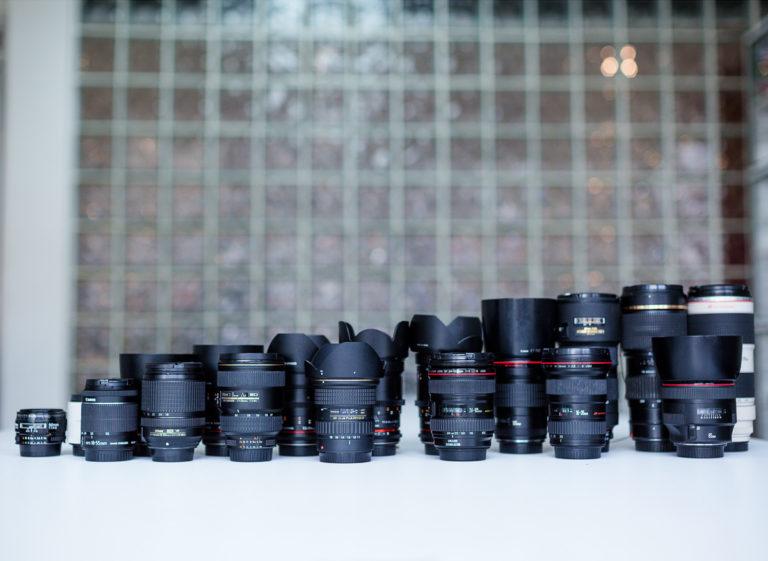
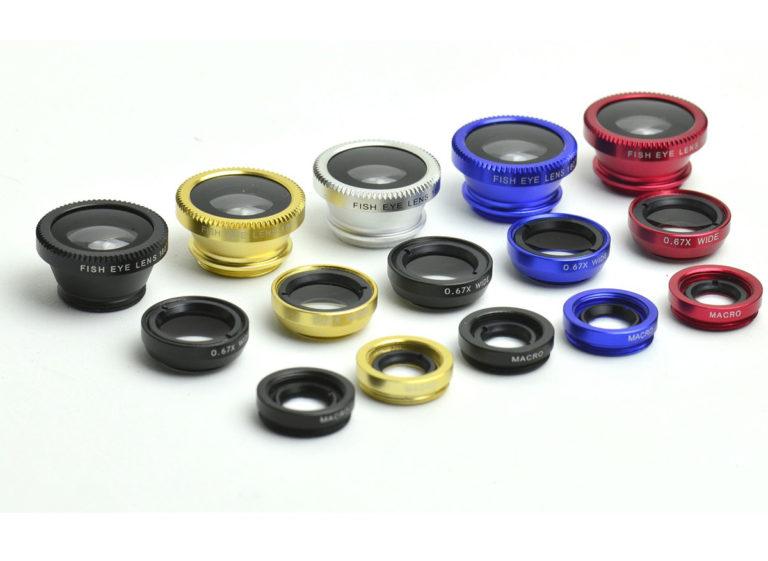
Additional camera lens attachments:
If you’re using a camera to take photos, consider investing in lens attachments that can enhance the camera’s capabilities, such as a macro lens or wide-angle lens.
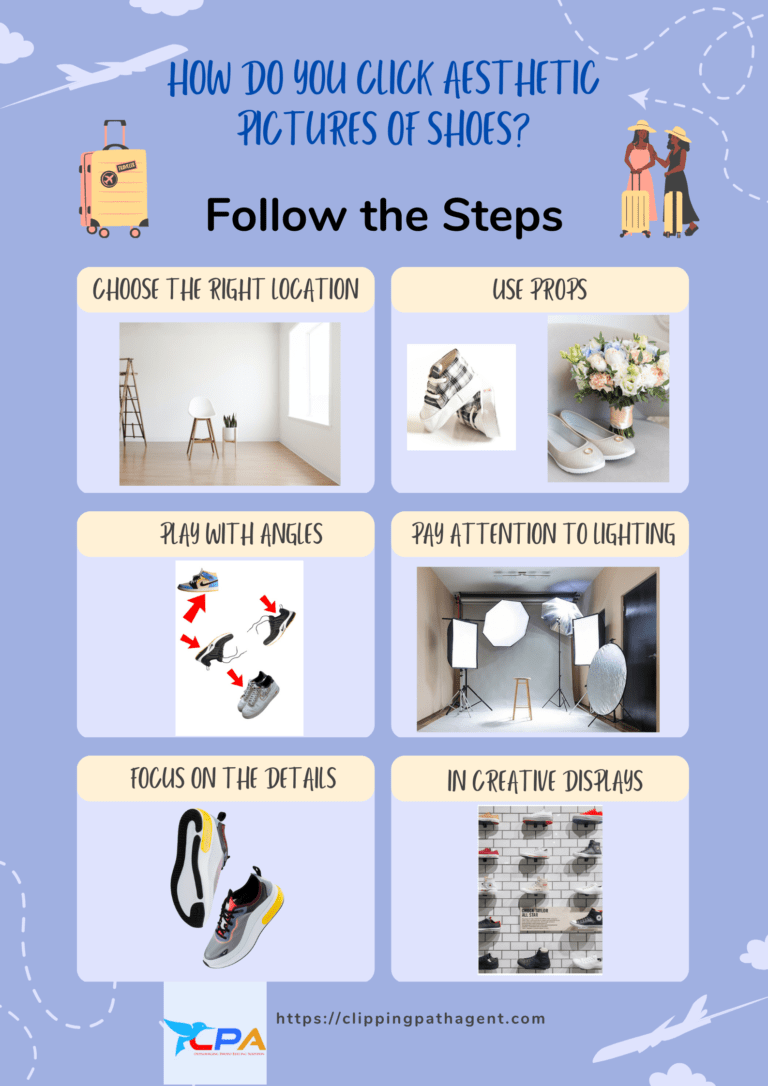
Choose the right location:
Select a location that complements the style and vibe of the shoes you are photographing. A neutral or interesting backdrop can help make the shoes pop.
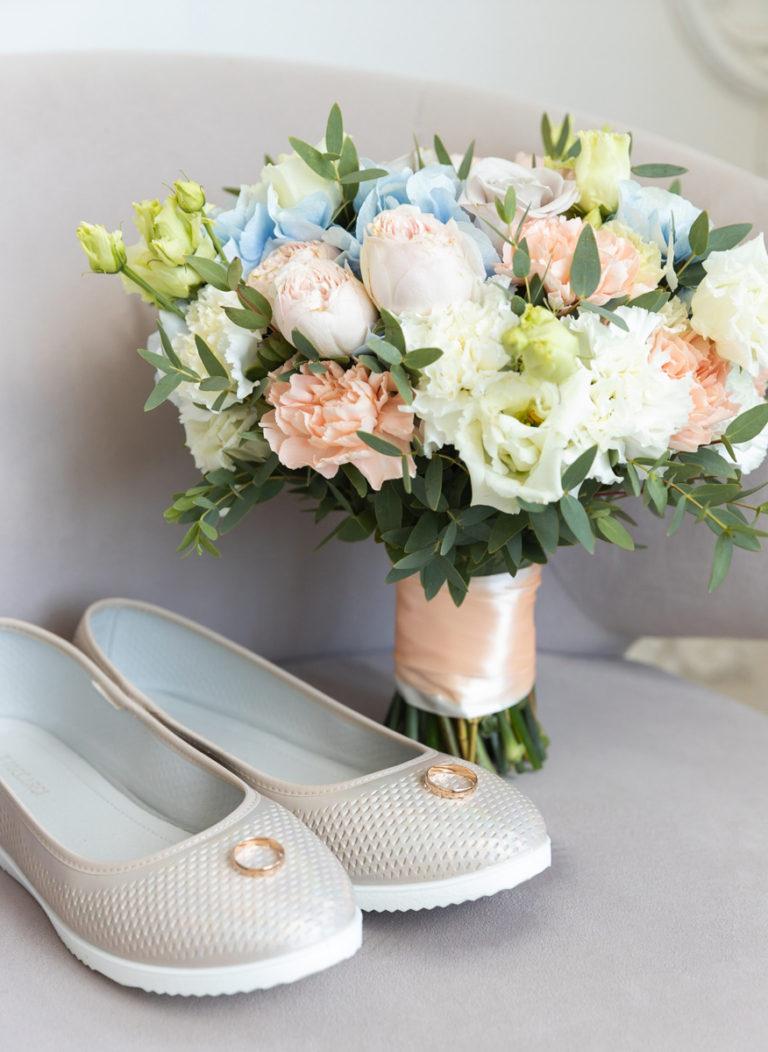
Use props:
Props can add interest and depth to your shoe photos. You can use items such as flowers, books, or other accessories that complement the shoes.
Play with angles:
Experiment with different angles and perspectives to create visual interest in your photos. You can try shooting from above, from a low angle, or at an interesting diagonal.
Pay attention to lighting:
Lighting can make or break your shoe photos. Try to shoot during the golden hour, which is the hour after sunrise or the hour before sunset, when the light is soft and warm. Alternatively, you can use artificial lighting to create a specific mood or effect.
Focus on the details:
Shoes often have intricate details such as stitching or embellishments that can be highlighted in your photos. Take close-up shots that showcase these details and make the shoes stand out
Arranging your shoes on display can be a fun and creative way to showcase your collection. Here are some tips on how to arrange your shoes on display
By color:
One of the easiest ways to arrange your shoes is by color. You can group shoes of similar hues together to create a rainbow effect or create a more monochromatic display.
By style:
If you have a variety of shoe styles, consider grouping them by style. For example, you can put all your boots together or all your sneakers together.
By height:
You can create an interesting visual display by arranging your shoes by height. Taller boots and heels can be placed at the back, while shorter shoes can be placed at the front.
By brand or designer:
If you have a collection of shoes from a particular brand or designer, consider grouping them together. This can help showcase your favorite brands or designers.
In creative displays:
You can also get creative with how you display your shoes. For example, you can hang them on a wall, use bookshelves or floating shelves to display them, or even use a vintage ladder to showcase your collection.
The most important thing about shoes is that they provide protection and support for your feet. Wearing shoes that fit properly and provide adequate support can help prevent foot injuries, reduce foot pain, and improve overall foot health.
Shoes also play a key role in maintaining good posture and alignment throughout the body. In addition to their functional benefits, shoes can also be an important fashion accessory, allowing individuals to express their personal style and creativity.
It’s important to remember that fashion should never compromise on the comfort and safety of our feet. So, when it comes to shoes, finding a balance between style and functionality is crucial.
The photoshoot is an one kinds of art. It totally depends on us. We can find out the photo shoot ideas from the expert photo shooter just following social media like, Facebook, Pinterest, LinkedIn social media platform or other related websites where we can get more ideas about that.
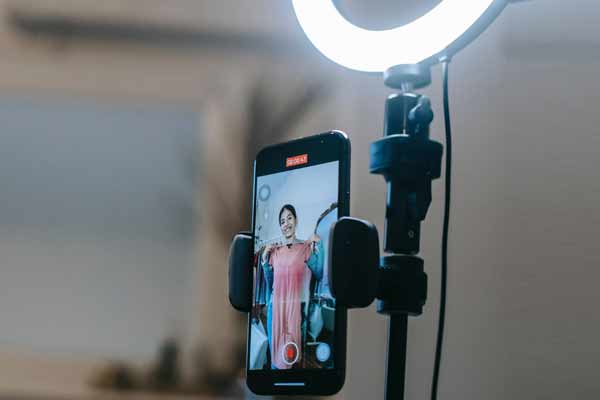
Setup proper Lighting environment:
Proper lighting is crucial for capturing clear and detailed images. Natural lighting works best, so try to take your pictures near a window or outside. Avoid using harsh overhead lighting or direct sunlight, as this can create unwanted shadows.
Choose the White Background:
Choose a simple and clean background to make the heels stand out. A plain white or black background works well, but you can also experiment with different colors and textures to add interest to the photo.
Focus Shoot From Different Angle:
Play around with different angles to find the best one for your heels. You might try taking photos from above or at a low angle to highlight the shape and style of the shoes.
Concentrate on Focus:
Make sure the shoes are in focus by using the autofocus function on your camera or phone. You can also manually focus the lens to ensure sharpness.
Pay Attention In Details:
Pay attention to small details, such as the stitching and texture of the shoes. Get close-up shots of these details to show the quality and craftsmanship of the footwear.
To take pictures of slippers we can follow these steps to get effective results.
Use a neutral or contrasting background:
Choose a background that is not distracting and allows the slippers to stand out. A neutral-colored background like white, black, or gray works well. Alternatively, you could choose a contrasting color to make the slippers pop.
Use good lighting:
Good lighting is essential to capture the details and colors of the slippers. Natural light is ideal, so take photos near a window during the day. If using artificial lighting, make sure it’s bright enough to avoid dark or blurry photos.
Experiment with angles:
Try taking photos from different angles to find the most flattering shot. Some good angles to consider include from above, at eye level, or at a slight angle.
Focus on details:
Slippers often have unique textures and details that can make for interesting photos. Make sure to capture close-up shots of any interesting details, like stitching or embellishments.
Use a tripod:
If you’re having trouble keeping your camera steady, consider using a tripod to keep it steady while taking photos.
Consider the context:
Think about how you want to present the slippers in your photos. Are they casual or formal slippers? Are they indoor or outdoor slippers? Consider the context and try to capture photos that reflect that.
Use props:
Props can add interest and context to your photos. For example, if the slippers are cozy and comfortable, you could photograph them with a cup of hot cocoa and a book.
Pay attention to composition:
Composition is the arrangement of visual elements in a photo. Use the rule of thirds to compose your photos. This means dividing the frame into thirds both horizontally and vertically and placing the subject where the lines intersect. To know the photography composition.
Consider using a model:
If you want to showcase how the slippers look when worn, consider using a model to show them off. Make sure to get permission from the model before using their image in your photos.
Edit your photos:
Editing your photos can enhance their quality and make them stand out. Use photo editing software to adjust the brightness, contrast, and color of your photos. If we are able to edit those images properly we can easily hire an image service provider.